Activities by Age

Threading Activities for Toddlers and Preschoolers: 3 Ways to Start

Threading is one of the best fine motor activities there is, and you can start it from around 18 months with a pipe cleaner and a handful of beads. Three ways to do it, and what each one builds.

Updated 16 September 2026

Child threading large wooden beads onto a pipe cleaner

Quick answer

Start with a pipe cleaner and big beads from around 18 months, move to a hole-punched paper plate and wool at three, then add colour patterns to follow. Pasta, cut straws and buttons all work as well as beads.

Threading looks like a hard one for little people, and at first it is. It is also one of the most useful things you can put in front of them, because it packs several separate skills into one quiet activity that costs almost nothing to set up.

Put simply: threading a bead strengthens the small muscles in the hand. Picking each one up and turning it to find the hole uses different hand movements, which supports fine motor skills. Choosing which bead to thread next builds visual perception, because your child is comparing what is in the pot against the picture in their head of how they want it to look. And along the way it teaches counting, sequencing and patterns.

The three activities below go in order of difficulty. Start at the top with a toddler and work down as they get more confident.

1. First threading: pipe cleaner and big beads

The easiest way in for a toddler. A pipe cleaner holds its shape, so there is no floppy string to chase, and big beads are easy to grip.

  • Best forPincer grip and first threading
  • Age18 months to 3
  • Time10 to 20 minutes
  • Mess levelLow
  • DifficultyEasy
  • CostUnder £3

You will need

  • Pipe cleaners
  • Large wooden or plastic beads with big holes
  • A small pot or tray to hold the beads

How to set it up

  1. Bend one end of the pipe cleaner over on itself so the beads cannot slide off.
  2. Tip a few beads into the pot and thread the first one yourself so your child can see how it works.
  3. Hand it over. Expect the first few to take a while; picking up a bead, turning it and finding the hole is three separate jobs.
  4. When the pipe cleaner is full, twist the ends together to make a bracelet or a circle to hang up.
  5. Keep a pipe cleaner and a handful of beads in a bag for cafes and waiting rooms.

Why it helps

Threading a bead strengthens the small muscles in the hand. Picking each one up and rotating it to find the hole uses different hand movements, and children have to watch what they are doing the whole time, which is hand-eye coordination in its purest form. Our Iona started at 19 months and her concentration surprised all of us.

Safety notes

Beads are a choking hazard. Stay with your child throughout and use the largest beads you can find. Bend the sharp ends of the pipe cleaner over before you start.

2. Paper plate threading

Punch holes around a paper plate and let your child sew wool through them. No two ever come out the same.

  • Best forUsing both hands together
  • Age3 to 6
  • Time20 to 30 minutes
  • Mess levelLow
  • DifficultyEasy
  • CostUnder £2

You will need

  • A paper plate, or a cardboard circle with the middle cut out for a wreath
  • A hole punch
  • Wool or a shoelace
  • Sticky tape

How to set it up

  1. Punch holes all around the edge of the plate, a few centimetres apart.
  2. Wrap sticky tape tightly around one end of the wool to make a stiff tip, like a shoelace end.
  3. Tape the other end to the back of the plate so it cannot pull through.
  4. Let your child choose which hole to go through each time, holding the plate with one hand and threading with the other.
  5. For a wreath, thread leaves, ribbon or paper shapes on as they go.

Why it helps

This one works both hands at once: the helper hand holds and turns the plate while the dominant hand threads and pulls. That division of labour, called bilateral coordination, is the same skill behind doing up a coat or steadying paper while cutting. Choosing which hole comes next adds planning to it.

Safety notes

An adult should do the hole punching. Keep the wool short and never leave a young child alone with a long strand.

3. Bead patterns and counting

Once threading is easy, add a pattern to follow: two reds, one blue, two reds, one blue.

  • Best forPatterns, counting and early maths
  • Age3 to 6
  • Time15 to 20 minutes
  • Mess levelLow
  • DifficultyEasy
  • CostUnder £3

You will need

  • Beads in two or three colours
  • A pipe cleaner, shoelace or string
  • A clear table to lay the pattern out on

How to set it up

  1. Lay a short pattern out on the table in front of your child so they can see it while they work: two red, one blue.
  2. Ask them to copy it onto the string, then repeat it.
  3. With younger children, put all the other colours away so the choice stays simple.
  4. Count the beads on together at the end, then count how many of each colour.
  5. To make it harder, show the pattern, cover it up and ask them to carry on from memory.

Why it helps

Copying and extending a pattern is early algebra: spotting a rule and applying it again. Counting the beads on as they go links the numbers to real quantities, and choosing the next bead from a pot practises visual discrimination, picking one thing out from many.

Safety notes

Beads are small parts; supervise throughout and keep them away from children under three.

Activity Kits for 3 to 7 Year Olds

Featured kit

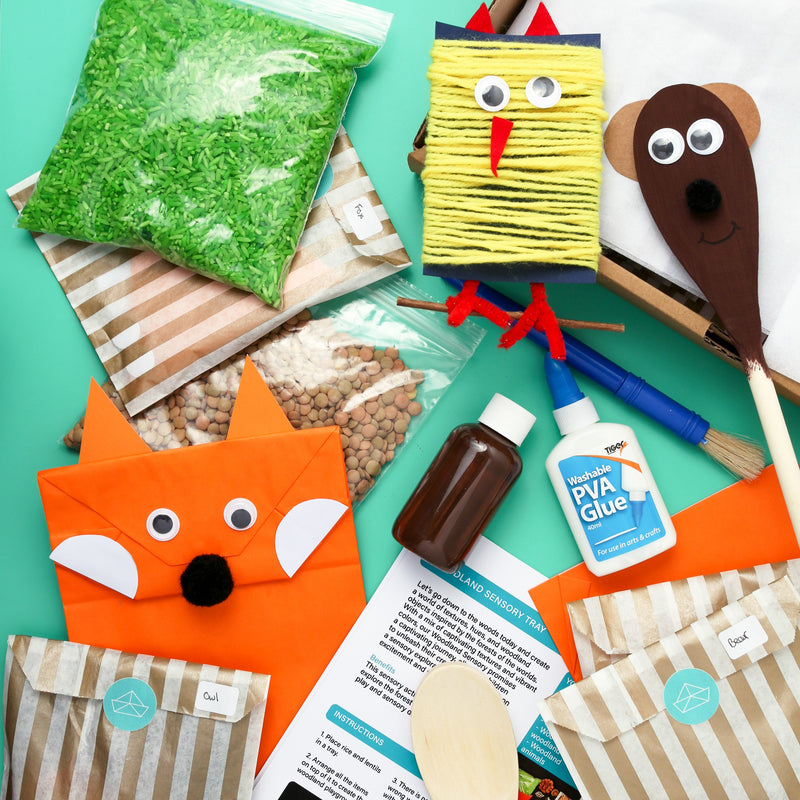
Threading, already in the box

Our activity kits include threading activities alongside three other crafts each month, with every material supplied and an instruction card that explains what each one builds.

What to thread with

Beads are the obvious choice, but you almost certainly have alternatives in the kitchen already:

  • Dried pasta with a hole through it, which can be painted first if you fancy a longer afternoon
  • Drinking straws cut into short lengths, the cheapest option of all
  • Buttons and cotton reels
  • Cereal hoops, for children who will inevitably eat half of them
  • Paper plates and cardboard shapes with holes punched around the edge

Making it easier, and making it harder

If your child is struggling, the problem is usually the string rather than the beads. Swap it for a pipe cleaner, which stays where it is put, and use the biggest beads you can find. Bend the far end over so nothing slides off and undoes the work.

If it is too easy, make the holes smaller, the beads smaller, or the string floppier. Add a pattern to copy, ask for a set number of each colour, or set a challenge: the longest necklace they can make from twenty beads without repeating a colour twice in a row.

One to keep in your bag

A pipe cleaner and a small pot of big beads take up almost no room and work at a restaurant table, in a waiting room or on a train. It is the activity we reach for most when we need ten quiet minutes.

Frequently asked questions

What age can children start threading?

From around 18 months, as long as you stay with them. Start with a pipe cleaner and the largest beads you can find, because a pipe cleaner holds its shape and removes the hardest part: keeping a floppy string still. String, wool and shoelaces suit children of three and up.

What can you use for threading apart from beads?

Dried pasta with a hole through it, cut-up drinking straws, buttons, cereal hoops, cotton reels, and hole-punched paper plates or cardboard shapes. Cut straws are the cheapest way to start and can be snipped into different lengths for sorting.

Why is threading good for fine motor skills?

Threading asks a child to pick up a small object with finger and thumb, turn it to line up the hole, and guide the string through while holding everything steady. That combination builds hand strength, the pincer grip behind pencil control, and hand-eye coordination, all in one quiet activity.